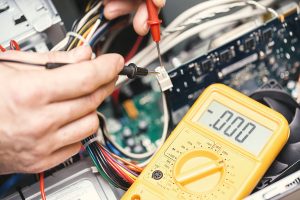
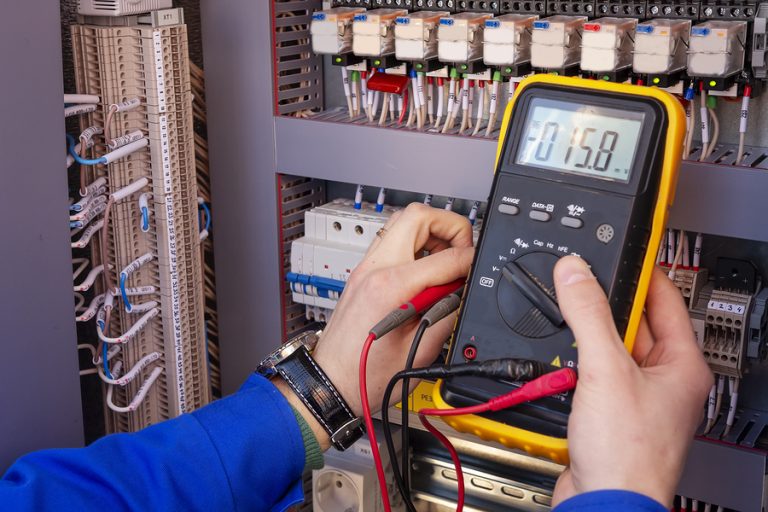
Checking the voltage of your outlets is important when you suspect that the electricity is not at the proper voltage. This is where a multimeter comes into play, allowing you to measure the voltage accurately, so you get the right picture of what is going on.
Reading a multimeter is not difficult, but it pays to know what the device is and how it operates so you can get the most out of it.
Table of Contents
What is a Multimeter?
Sometimes called a digital multimeter or DMM, this is one of the most common instruments used to measure voltage, the amount of current, and resistance for wiring and devices that carry electricity. This all-in-one device sometimes offers features for testing out capacitors and transistors.
It is most commonly used to check the continuity of electrical wiring and fuses. A multimeter is quite common, inexpensive, and a handy device to have around to test wiring or troubleshoot potential problems involving electricity. Plus, a good multimeter is quite durable and with proper use can last a long time.
What a Multimeter Measures
You can use the multimeter to measure the following;
- AC Voltage
- AC Current
- DC Voltage
- DC Current
- Resistance
- Continuity
Some multimeters have the capacity for additional measurements such as capacitance, DC current gain, diode testing, frequency, and temperature when using another probe. The LCD display on the device will let you know what value is being measured at the time.
Understanding the Terms
- AC: Alternative Current. Flows back and forth, such as found in outlets
- DC: Direct Current. Flows only one way, usually found in batteries
- Amps: The current that is flowing through the circuit
- Ground: The point where the negative terminal is connected.
- Load: What draws power from the source of voltage. A bulb, resistor, motor, etc.
- Ohms: The resistance to the current flow in a circuit
- Polarity: Electrical flow direction in a circuit
- Source of Voltage: What produces the electrical current. Such as a battery, generator, etc.
- Volts: The amount of pressure in the circuit
Reading a Multimeter for AC Voltage
This is arguably the most common use of a multimeter. You can see in the readout just how much current is traveling through the wiring by reading the voltage with this device. With the multimeter in hand, do the following;
- Set dial to ṽ or the “m ṽ setting.
- If the voltage is unknown, choose the highest voltage setting and set the dial to ṽ.
Many multimeters will have an Auto range mode which means that it will select the measurement range automatically based on the voltage that is present. However, if the multimeter does not have Auto range, then you will need to set it according to the printed ranges on the meter itself. The closer to the expected range that is selected, the easier it will be to understand the results.
- Insert black lead into the COM jack
- Insert red lead into VΩ
- Connect the black lead to the circuit, then the red one (AC voltage has no polarity)
- Read the measurement as seen in the display
- When finished, remove the read lead first, then the black one
Remember to not touch the tips of the leads with your fingers or let the tips touch each other.
This is the basic function of a multimeter. However, there are several other functions that you can utilize by accessing the different buttons on the meter itself. This allows you to expand your reading of the voltage when needed. By pressing these buttons on the multimeter, you can read the following:
- HOLD: This captures the stable measurement which can be viewed after reading the voltage
- MIN/MAX: The lowest and highest measurement. You’ll hear a beep when a new reading is ready
- RANGE: Choose a fixed measurement rate
- REL: Set the multimeter to a reference value. It displays measurements above and below the value.
Be Safe
Although the chances of being injured as a result of incorrectly using a multimeter are quite small, you may damage the device itself if it is not used properly. To err on the side of caution, you should inspect the test leads first to see that they are not damaged. Plus, look to see that no exposed conductors are present.
If you want to know the voltage in an outlet, switch off the power to the socket first and then insert the main probes. If you cannot turn off the power, insert a probe into the neutral pin first and the next into the hot or live pin.
One common mistake that many people make with a multimeter is inserting the test leads into the wrong jacks. If you do that, it may create an arc flash which is quite dangerous. If you match the colors when inserting the leads into the jacks, then you can avoid this issue.
Understanding AC Voltage Measurement
Now that you have measured the voltage, what is normal for most systems is to be no higher than +10% or lower than -5%. Consider that no AC current is going to be perfectly even. There will probably be some small variation over time across a power distribution system.
In many cases, the voltage may be slightly less than normal from what is expected. This is probably due to minute power loss as the electricity is carried through the wiring. Plus, the voltage will vary depending on at what point it is measured in the system. So, it might be slightly higher the closer you get to the electricity being introduced into the system compared to at the end.

Using a multimeter is pretty easy once you understand its function, the meaning of the basic terms, and reading the results in comparison to what is expected. If you get a reading that is significantly outside the normal range, you should recheck the settings on the multimeter and try again. You can do a functional check on the meter itself based on the instructional manual or check something where you already know the readings.
Founder of HandymanGuides.com and self-proclaimed “Mr. Fix-It”, Mike has countless years of experience building and tinkering with everything under the sun. He works as a local repair guy near Santa Monica, CA and when he’s not spackling drywall, he enjoys spending time with his wife and 2 daughters.